Installation
A proper installation of artificial grass is what will define its durability over time. Learn about the artificial grass installation process from the beginning through all the necessary steps. Here are all the steps explained.

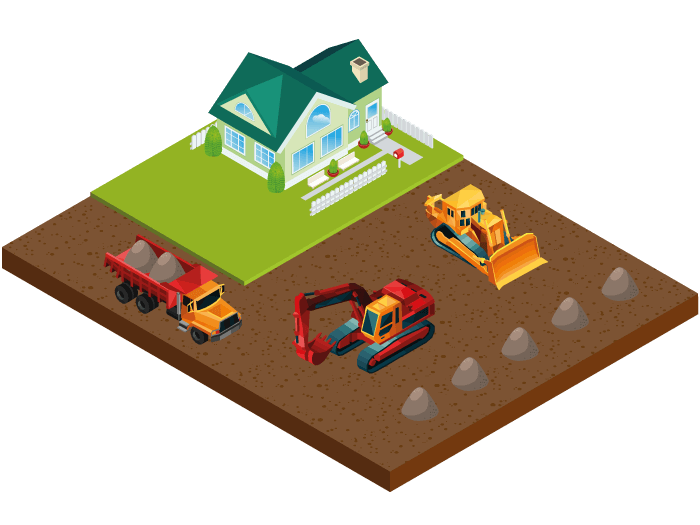
Prepare the Terrain's Shape
A well-done subsoil preparation is key to having beautiful and durable artificial grass. It starts with removing the existing vegetation layer from the area where the artificial grass will be placed, while creating steps, slopes, and shapes in the flower beds. If there’s room in the garden, a machine can save a lot of time and work. Borders must be created with different grass separators where necessary.

Remove the Vegetation Layer
It’s important to meticulously remove the entire vegetation layer for two reasons. First, space is needed to lay an 8 to 10 centimeter layer of river sand, and second, to ensure that nothing grows under our artificial grass.
Add Permeable River Sand
Now it’s time to bring in the river sand. To save work and time, it’s best to transport the sand with a large crane truck. We’ll place piles of sand distributed throughout the garden, at least as far as the truck can reach, to spread them evenly and meticulously by hand, adapting to the terrain.
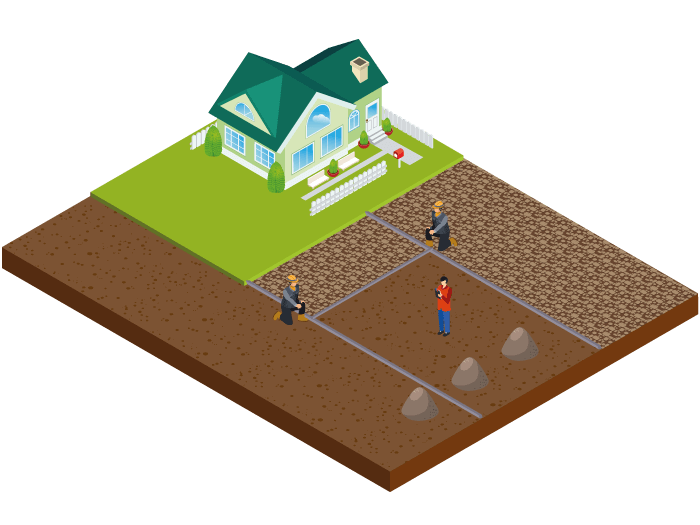
Level the Sand
First, spread the sand over the entire surface, using screeds and ropes to achieve the desired levels and perfect seams. It’s much nicer if the artificial grass reaches the same level as the terraces or the pool, thus avoiding unwanted jumps in the finishes.

Meticulously Compact the Terrain
Once the entire surface is well-leveled, it’s necessary to compact the terrain as much as possible. For this, we can rent a vibrating plate or compactor, which we will repeatedly pass over the entire surface, constantly wetting it.

Lay the Permeable Anti-root Fabric
On top of the compacted and prepared surface, we lay a high-quality anti-root fabric. It’s very important that it’s highly permeable, as otherwise, rainwater won’t penetrate the soil and will stagnate on top of the artificial grass. We strongly advise against skipping the anti-root fabric. Even if we have removed all the vegetation layer, applied herbicides, and added a significant layer of sand, in the future, weed seeds may arrive by air, birds, or other animals to our artificial grass. An anti-root fabric will greatly hinder their growth and, being unable to establish deep roots, it will be very easy to remove them.

Lay the Artificial Grass Rolls
Now begins the installation of the artificial grass. We unroll the rolls completely, brush them, and start placing them throughout the garden. This step should be taken calmly. Artificial grass has prettier sides than others, so we must place all the pieces in the same direction and with the prettier side facing the point of most interest, for example, from the main terrace.

The Joining Bands
Once we are sure how to lay the grass, and it is already cut (leaving a few centimeters for possible mistakes), we lift the two sides of each join and place the joining band, securing it with large nails to prevent the wind from lifting it.

The Two-component Adhesive
Finally, we prepare our two-component adhesive and start gluing band by band. We apply the two-component adhesive with a notched spatula along the entire joint. Then we close the two faces of the grass like a zipper, taking care not to leave fibers underneath and to prevent adhesive from coming to the surface. Depending on the grass model, we leave a few millimeters of joint between the two pieces.

Well-Finished Artificial Grass Joints
The result of our artificial grass installation will depend a lot on whether we are able to make perfect joints. Learning to be handy with this takes years, and we recommend leaving this step to the professionals. It’s a shame to spend so much money on grass and then have it poorly joined.

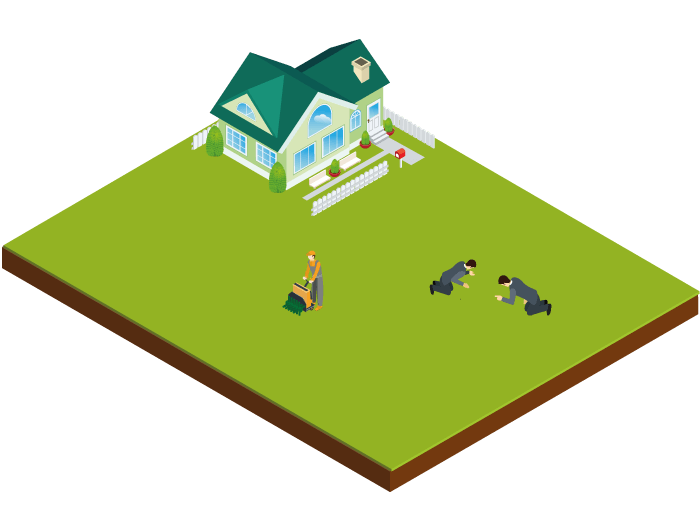
Brush with a Brushing Machine
When we are sure that the adhesive has hardened and dried, it’s necessary to thoroughly brush the grass. This will lift the fibers and remove the dust and factory protection from transport and storage.
Finishing Touches
We trim the centimeters we previously left at the ends, always considering that the artificial grass may shrink a little over time. We hammer some special nails over the entire surface for added stability and apply special adhesive to the sides. And we start enjoying our new evergreen garden.

Tailor-made budget
